Turn both pairs inside out and cut out the in-seam. Yes! CUT it out. I’ve tried picking it out…waste of time and way too much material in the end. So, carefully cut the seams out, making sure you don’t have too many jags and crooked cuts.
When you have finished that, turn them right side out again.
Lay the pair that fits around the waist, flat on the floor. Or table. We used the floor, because we are tall girls and need a lot of space to lay out the material!
On the zipper side, cut from where you just cut out the in-seam to the bottom of the zipper, leaving the original top stitching in place.
Do the same for the back side, cutting to approximately the bottom of the pockets. I’d give measurements, but all jeans are different. These cuts could vary from 2 inches to 6 inches.
Now zig-zag or serge the raw edges of the cuts you just made.
From the pair of jeans you plan to use as filler for the skirt, cut out as much of the legs as possible. This is for a full maxi skirt for a tall lady, so if you’re more petite you might not need all that length. Go for it anyway. You can always cut the excess off.
Now, lay the pair of jeans out, overlapping like the picture below, keeping the side with the original top stitching on top. The most accurate way I’ve found to make the skirt not poof out behind when sewed, is to overlap until it lays flattest possible. Snip along the seam like above if needed. You want zero buckles or folds. This means there needs to be a pretty big curve in the top piece.
Pin securely in place.
Sew on the original top stitching and down the leg. It’ll be a small triangular seam.
Repeat the last two steps on the front side of the jeans.
Now, lay out the jeans on the floor again, right side out. Push back the front part until you find the part you just sewed on the back side. You’ll see the very wide, triangular-like seam.
You can keep it there if you want, but I advise you to trim it if you don’t want anything flapping around underneath causing tickling, which will make you dance around like there’s a bug or something in your clothes. I know this from experience! Just saying.
So trim it! Then zig-zag or serge the raw edge.
Repeat for the front side.
**Now, lay the jeans flat, with a little or as much flare as you want. Then place one leg of the filler denim from the other pair of jeans underneath, making sure you have enough overlapped to sew securely. Pin in place.
Pin some more.
Go pin crazy! You’ll be glad you did!
For this skirt my sister wanted the seams to fray on the outside. I love that look, but it takes a few washings to get it to fray noticeably. So there’s no visible fraying for this tutorial.
If you don’t want fraying, you will need to get out the ironing supplies and iron the outside seam under about half an inch, then go pin crazy.
This is what it looks like on the inside after it its pinned. We had a gob of excess denim flapping around.
So we trimmed it to about 1 inch outside the pins. You’ll want to do this to eliminate any material that could get caught or sewed in, which will complicate the whole process greatly.
Now, you are ready to sew. Sew on the outside, leaving about half an inch to fray if you want it to. As you can see, we had pins almost every inch.
I like to do a double top stitch here, just like you see on the original top stitching of your jeans.
When you have finished sewing, remove pins and flip over. The inside should look like this.
Trim the excess material to about 1 inch of where you just sewed. Again, this is to eliminate any tickling in the end product!
Trim the bottom of the filler to the same length as the remainder of the skirt.
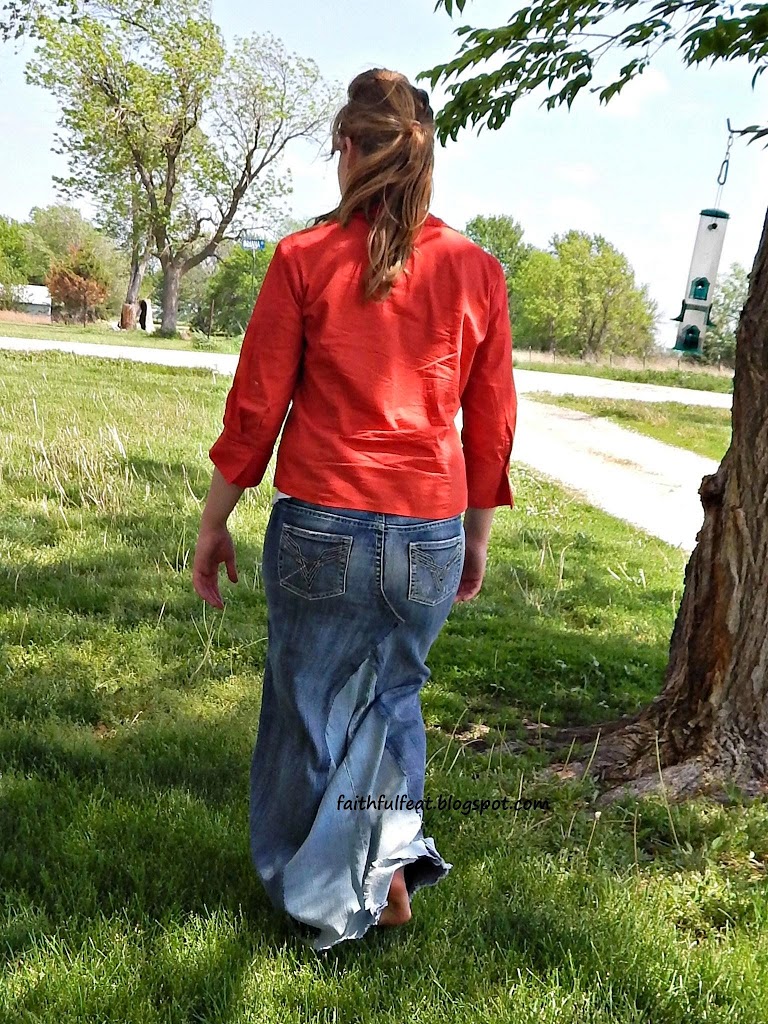
Repeat the process of adding the middle section of the skirt, this time on the back side. Yes, all the pinning again! But this time being more careful no to pin the front side to the back side. Find the ** above You’ll repeat all instructions from there at there.
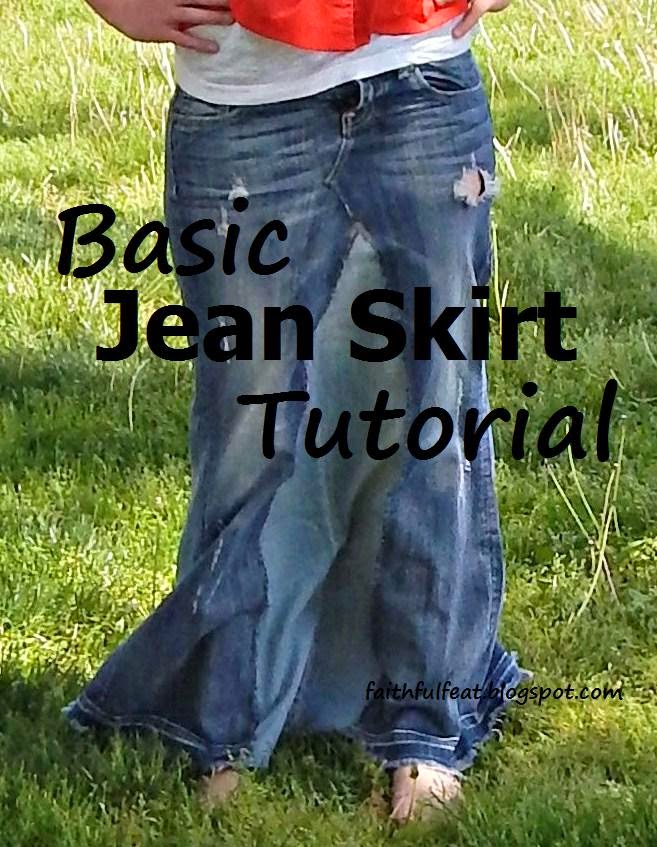
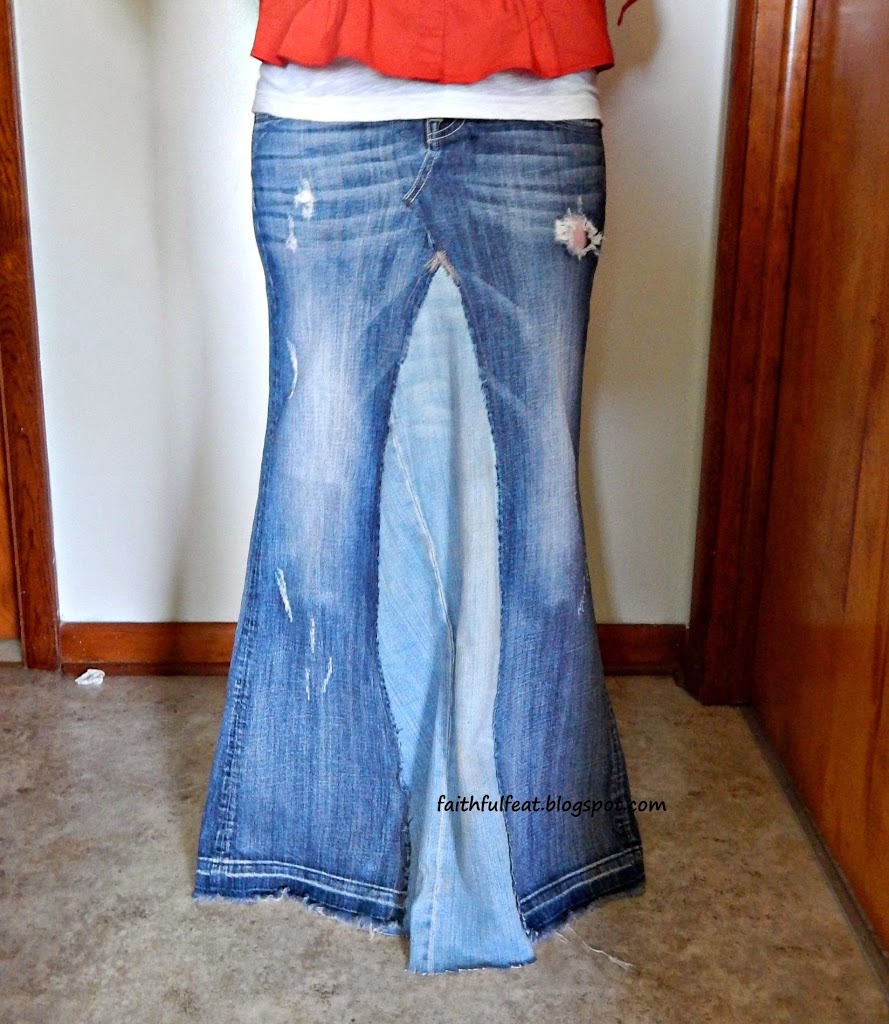
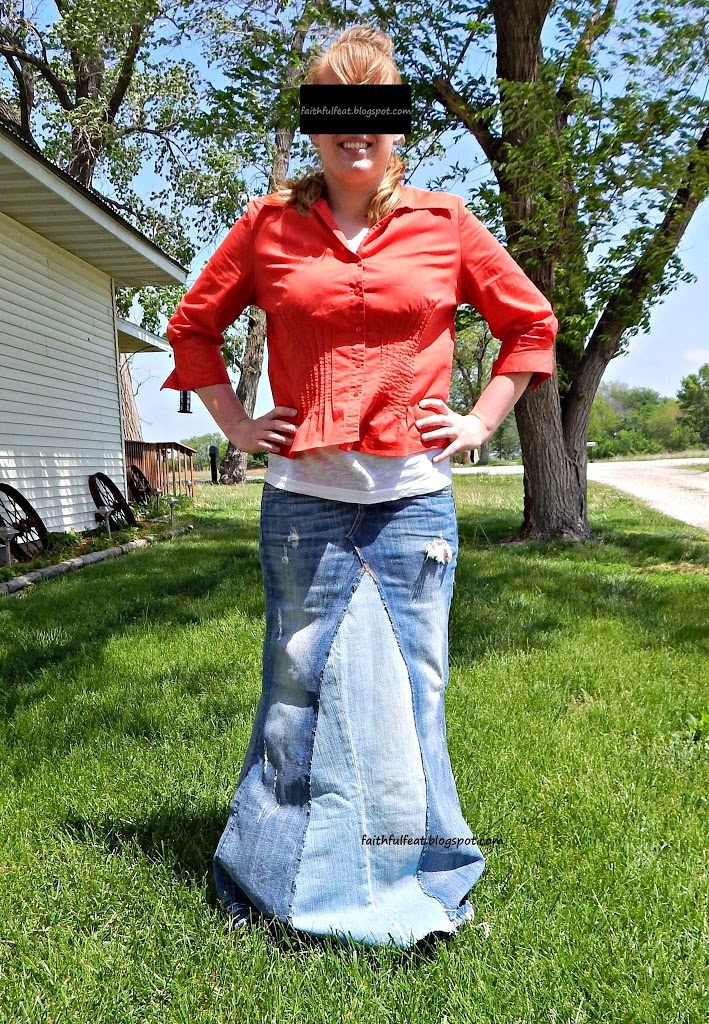
You are done! Go show the world!
Sharing with….Create With Joy , The Time-Warp Wife , Teaching What is Good, Living Proverbs 31, Modest Mom, Sew Can Do, Mabey She Made It, Sugar Bee Crafts, Skip to My Lou, C.R.A.F.T., Boogieboard Cottage, The Mom Maven, A Little R&R, A Wise Woman Builds her Home, Living from Glory to Glory, Raising Homemakers, Stacy Risenmay, Love Grows Wild, VMG206, Sew Much Ado, Someday Crafts, Made to be a Momma, Far From Normal, Sweet Bella Roos, Serving Joyfully, Jenni Mullinix, Marriage Motherhood & Missions, Oh My Heartsie Girl, Beauty Observed, Nancherrow, My Paper Craze, Simple Saturdays Blog Hop


Thank you for providing this information.I have made jean skirts before out of jeans and loved the skirt but was put off by the work it took. However, you have inspired me to do it again! It is so difficult to find long jean skirts! The one you have shown here looks pretty cool and comfy :0)
Great idea and use of outgrown or well loved jeans! Thanks for sharing – visiting from the link-up today.
Hi Kaylene, thanks for stopping by and linking up. I have pinned your post to our Weekend Party board on Pinterest!! Have a great weekend! Karren
I also wanted to say, that as a team, you did great, I love the denim skirt!!!
Hi Kaylene! What a pretty name! I found you over on the Weekends are Fun Bloghop! I really appreciate all the time and effort you took to make this tutorial! I have been wondering how to go about making one of these! Thanks so much! And, nice to meet you!
Nice to meet you as well Shannon! I'm glad you found this helpful. Hope you can make one yourself someday! 🙂
Great tutorial! I've seen these skirts around, but never knew how it was done. Thanks for sharing at Fridays Unfolded!<br /><br />Alison<br />Nancherrow
This is great! I pinned to #theultimateparty board for future reference for my daughters.
Awesome! Thanks Tammy! Hope you enjoy this with your daughters!<br />
Very cute! And I bet you both had a great time being together and sewing them is more fun with company! I bet a lot of ladies and girls will be able to use this; good job!<br />Roxy
We did have a good time! A precious time indeed! I hope many will find this a doable, frugal, modest tutorial.
Thanks for the tutorial! I've always wanted to do this! 🙂
Your jean skirt is fabulous! It's a lot of work but the end result is worth it. Thanks for sharing with Creative Spark Link Party.<br />Glenna @ My Paper Craze
Comments are closed.